

Jaimito y yo en el 2016 en nuestra primera huerta. - Baby Jaime and I in 2016 in our first garden

Como fue nuestro jardín por 4 años (empezamos 2016). Estaba a un costado de nuestra casa - This was our garden for 4 years (we started in 2016) it was at one side of our house,

En es primer jardín también usábamos materos -In our first garden we also used container and pots.

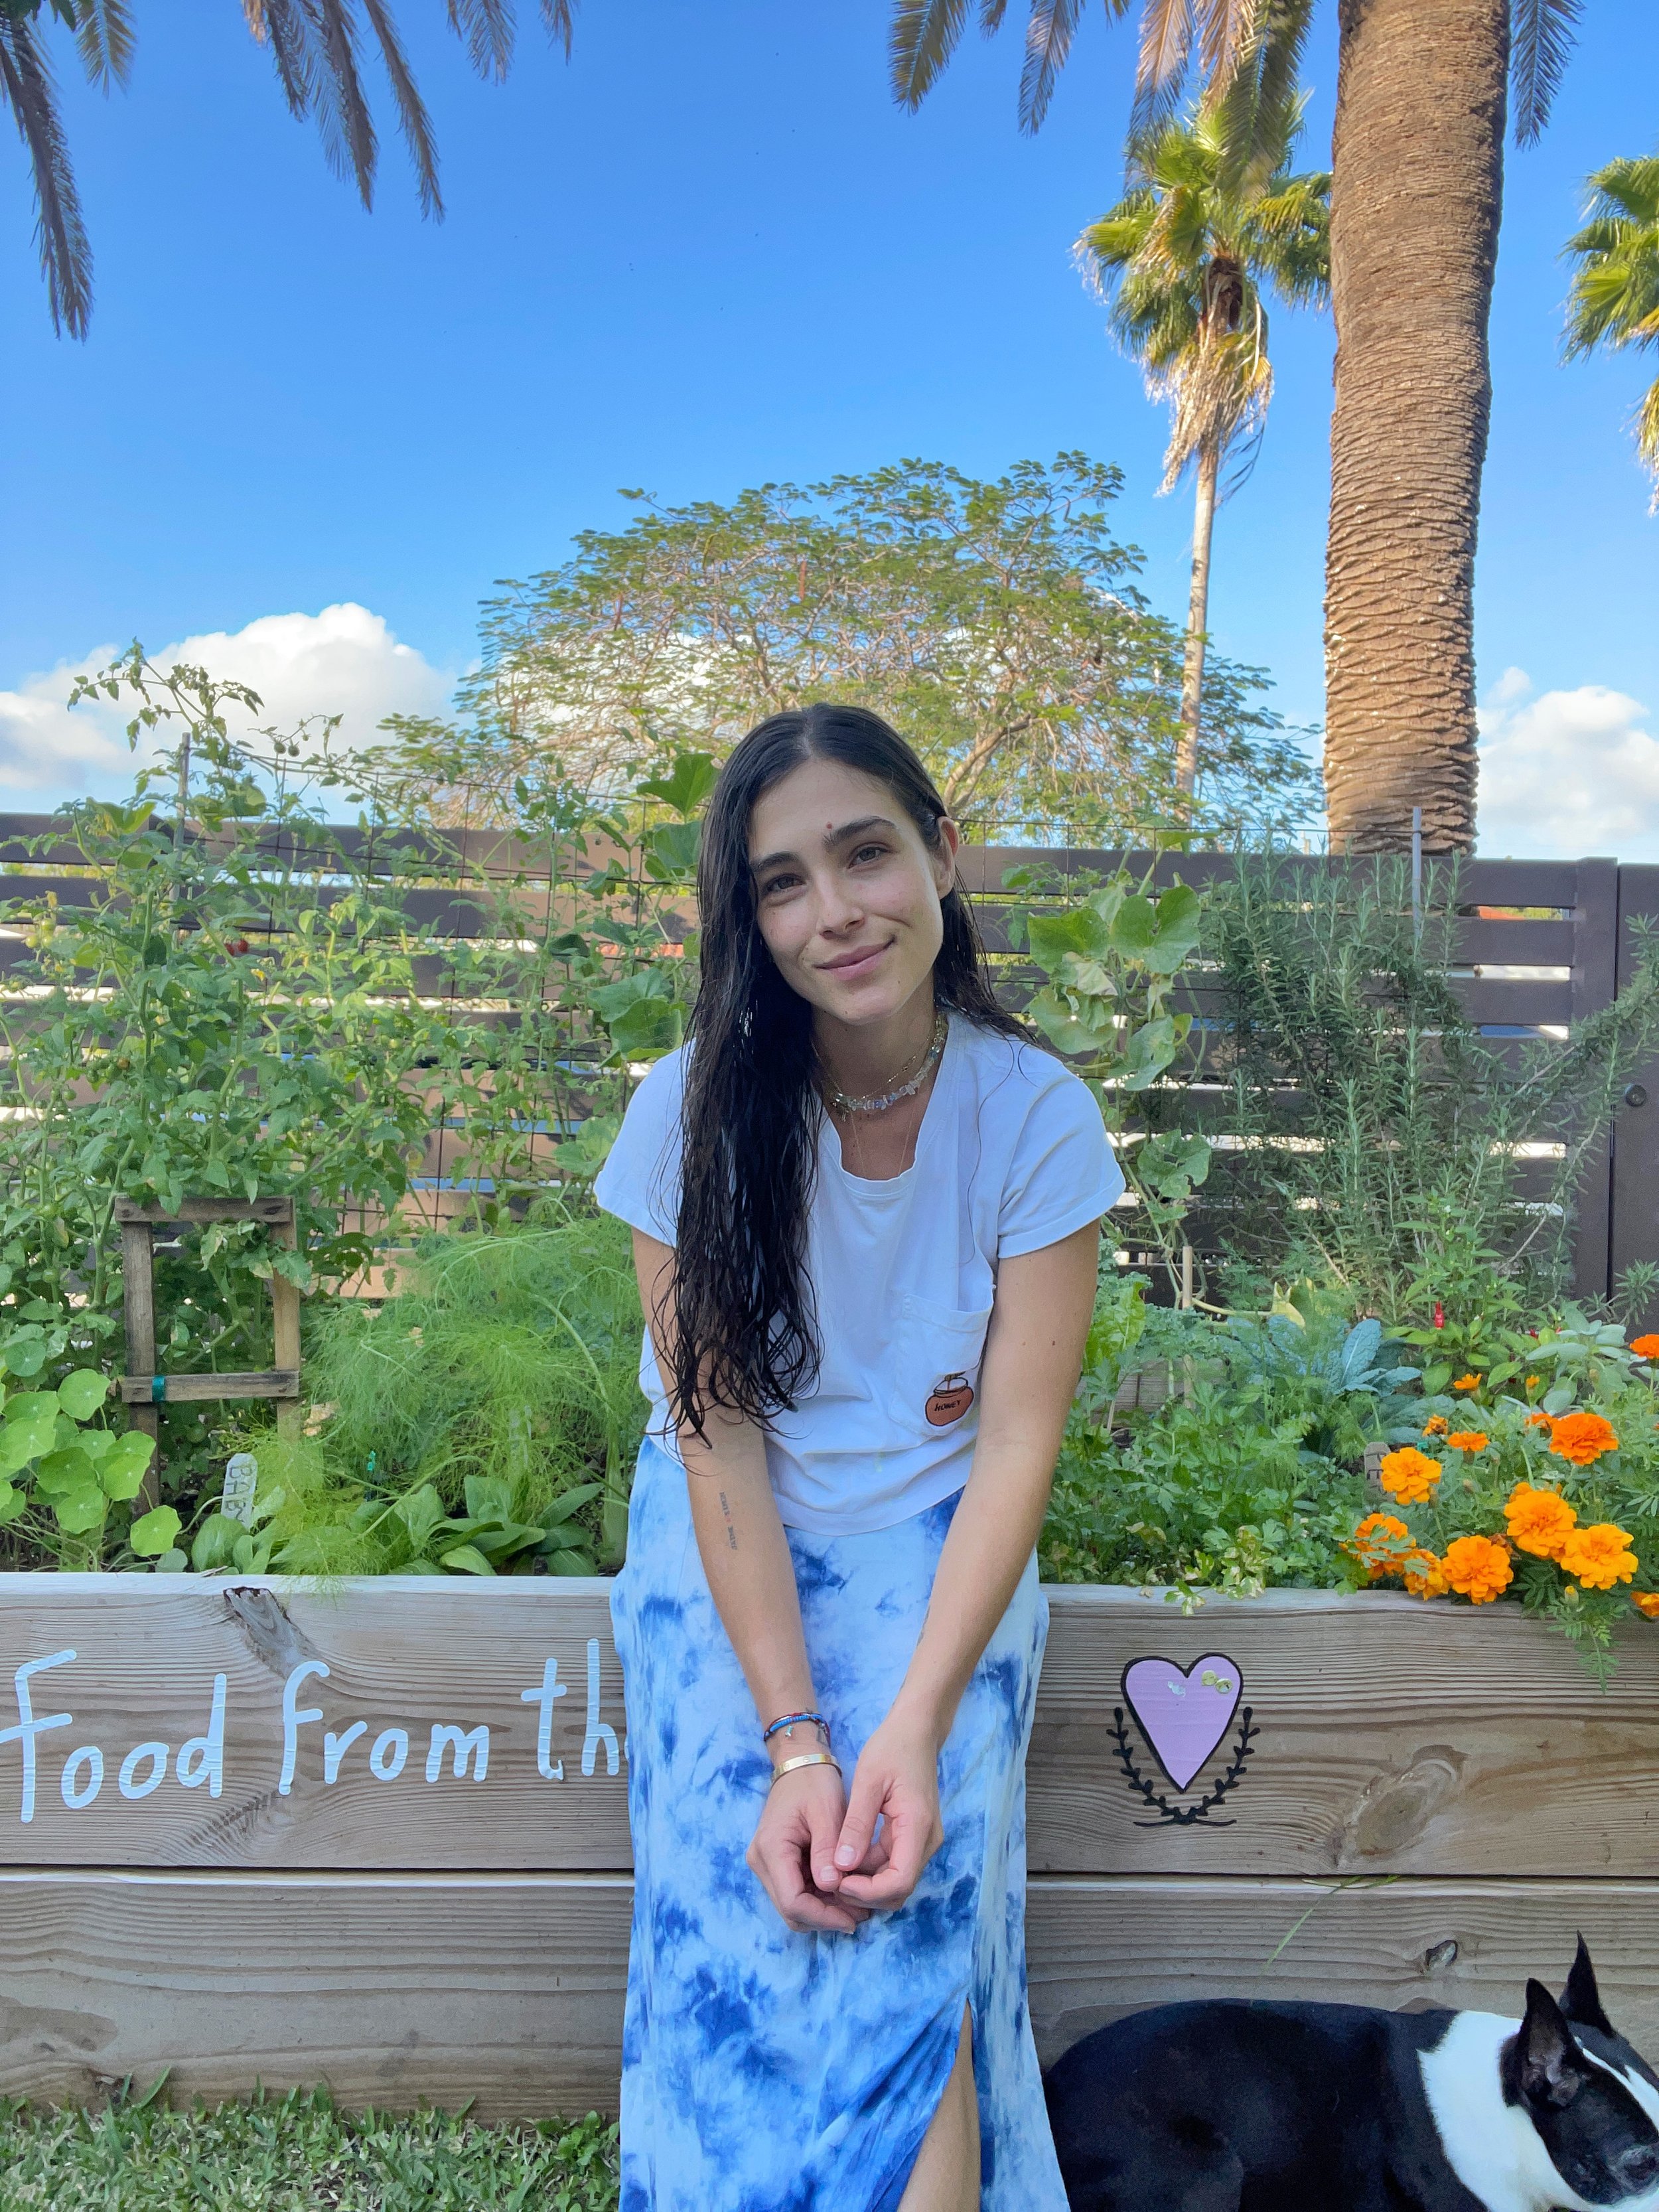
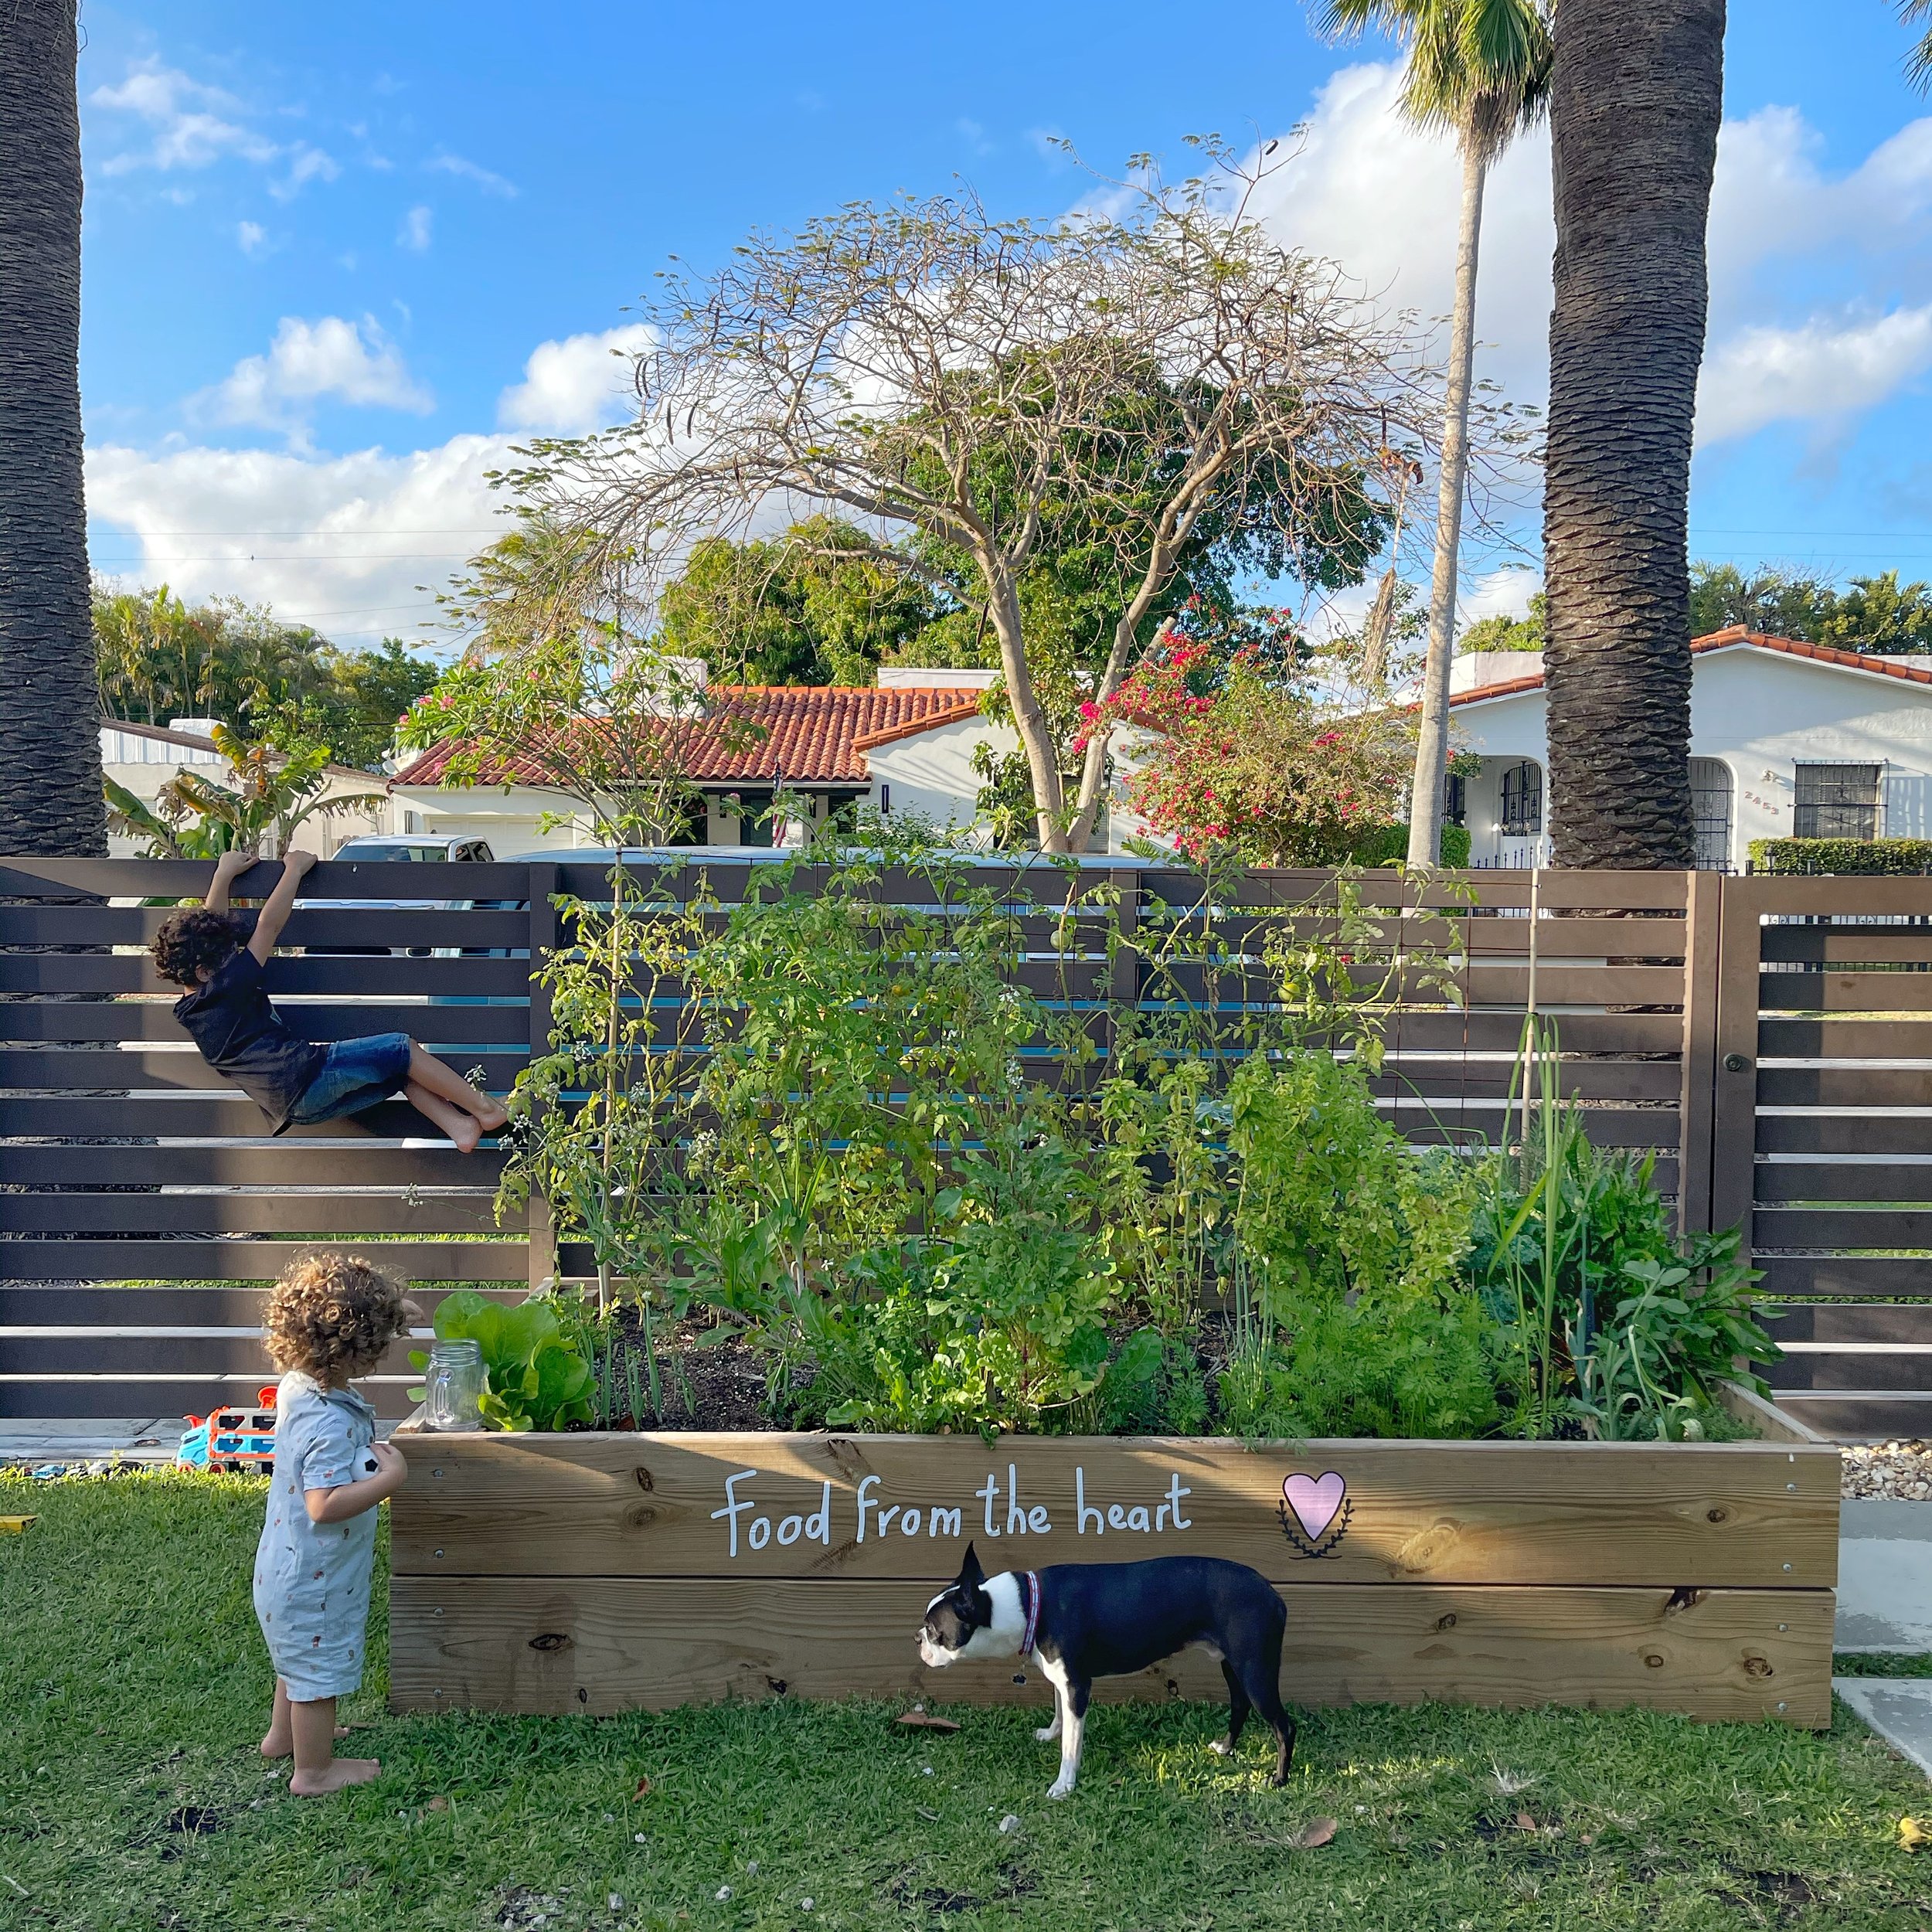
Cuando hicimos finalmente la cama en el 2020 - When Little River Cooperative installed our raised bed in 2020
Vale la pena aclarar como siempre se los recuerdo, no somos unos expertisimos en el tema, somos más que todo apasionados y aprendemos más y más a través de la experiencia de tener nuestro propio jardín en casa. Desde hace tres años que tuvimos la ayuda de una finca local en Miami - “little river Cooperative” - en hacer finalmente una cama formal para nuestra huerta, hemos aprendido aún más de ellos. Este año nos lanzamos a replantar nuestra camita solitos solitos de nuevo como en los viejos tiempos.
Me preguntan tantísimo que haga videos y contenido de la huerta, de como empezarlo, tipos etc, pero como sigo aprendiendo, no había tenido la oportunidad de mostrarlo desde cero así que decidí compartir un poco nuestro proceso de plantar nuestra huerta para esta nueva temporada. Como no soy experta, les muestro desde mi experiencia y de lo que vamos aprendiendo en el camino. Así que les pondré la información más ordenada por pasos:
La jardinería es un proceso cíclico así que depende de donde vivas, decidir cuándo empezar de nuevo el jardín así como las plantas recomendadas para el clima de donde vivas. Por ejemplo si tienes temporada, normalmente se empiezan los jardines de nuevo en Miami y sur de florida en otoño, Septiembre y en adelante y por ejemplo en Cali -Colombia donde vive mi mamá tiene casi el mismo clima siempre (sin contar época de lluvia) entonces sería diferente. Nosotros siempre sembramos nuestra huerta entre octubre y Enero.
Busca un lugar donde tengas sol todo el día. Esto es lo MÁS importante para empezar.
Define si vas usar una “cama” - caja para sembrar (como la que yo tengo) o si vas a usar materos. En materos se puede sembrar también mucha variedad PERO recuerda, necesitas sol. Así sea desde un balcón o ventana pero que esta reciba luz. El requisito más importante es el sol.
Luego que decidas que puedes sembrar, según tu clima y zona donde vivas, tienes que decidir entre semillas o plántulas (plantitas bebés).
Las plantas que son fáciles siempre son las hierbas - romero, tomillo, menta. Plantas como el tomate, lechugas, rúcula, kale, son buenas para empezar.Nosotros hemos hecho ambos! Semillas y plántulas. De hecho nuestro árbol de papaya y de yaca (jackfruit) fueron de semillas. Para empezar creo que es más fácil con plántulas porque no solo podrás cosechar más rápido, sino que si las compras de viveros locales, ya estarán adaptadas al clima de la zona. Comprar plántulas locales para mi es TOP. Nosotros compramos, como mencione, en little river cooperative. Si decides irte con semillas debes leer bien las especificaciones de cada una para dejar espacio necesario entre cada una, como también marcar con labels cada zona una vez plantada para luego no confundirte con que era que (nos ha pasado).
Después de esto sigue el tema de la tierra! Cúal usar? Nosotros usamos una capa de tierra para jardín que tenga fertilizantes granulares OMRI. Esta si puedes también comprarla de un vivero o finca local porque estará más viva y llena de nutrientes. Si la compras en una tienda revisa que no tenga fertilizantes no orgánicos. Nosotros mezclamos con una capa de nuestro compost que también tiene muchos nutrientes. Para calcular cuanta tierra necesitas puedes mirar en esta pagina https://www.gardeners.com/how-to/soil-calculator/7558.html
Ahora sí empezamos. ¿Tenemos nuestra tierra y cómo la sembramos? Así sea una “cama” o caja o matero aplica esta regla del cuadrado de 1 pie (1 square feet) con un palo dividimos el espacio haciendo líneas en cuadrados de este tamaño y ahí calculamos cuánto espacio tiene más o menos cada planta. Por ejemplo plantas que caben en 1 cuadrado de un pie cuadrado serían:
Romero, perejil, tomate, oregano, pimenton. Kale, apio, repollo, coliflor
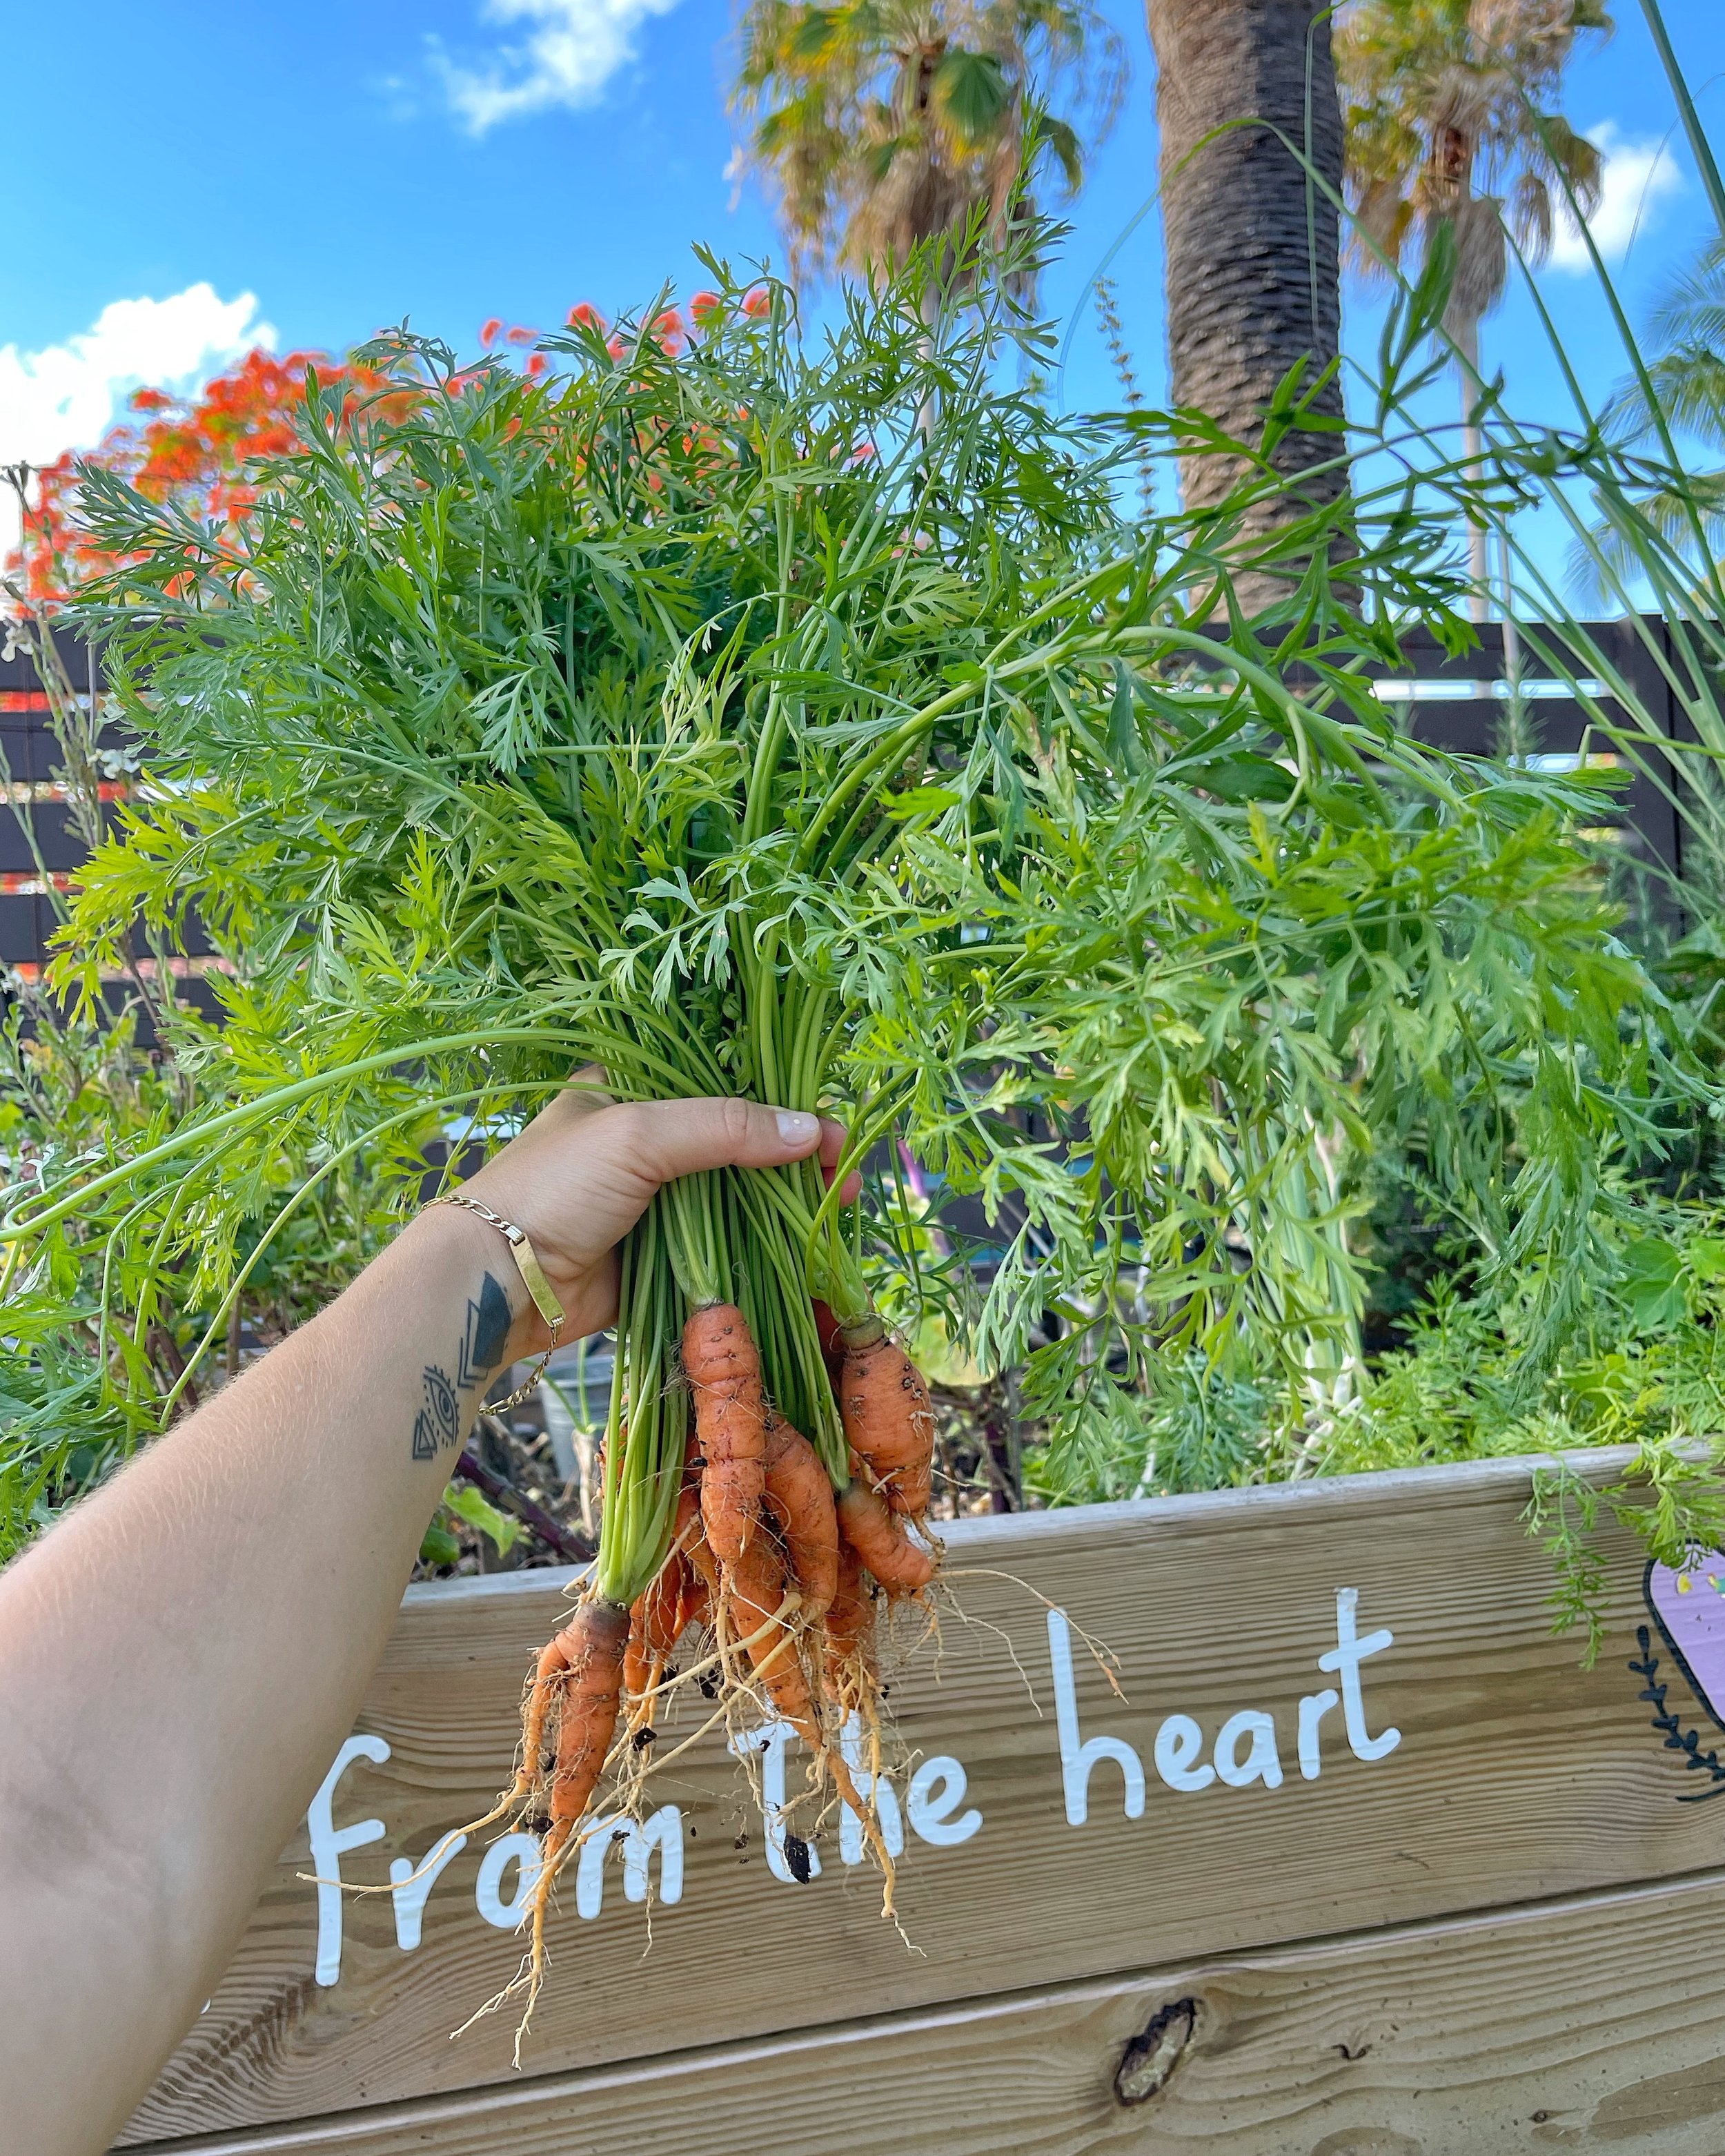
Cabrían en el mismo espacio 4 plantas de: lechuga, flores comestibles como merigold, acelgas. Y así sucesivamente. De plantas como rábanos o zanahorias en el mismo cuadrado cabrían entonces muchas. Más o menos 12 porque son pequeñas.
Ahora que? Tienes que regar todos los días. Revisa insertando tu dedo en la tierra para confirmar si la tierra están recibiendo suficiente agua. Cada mes “little revier cooperative" nós recomendo usar este fertilizante natural. Huele a algas pero funciona muy bien (consíguelo aquí).
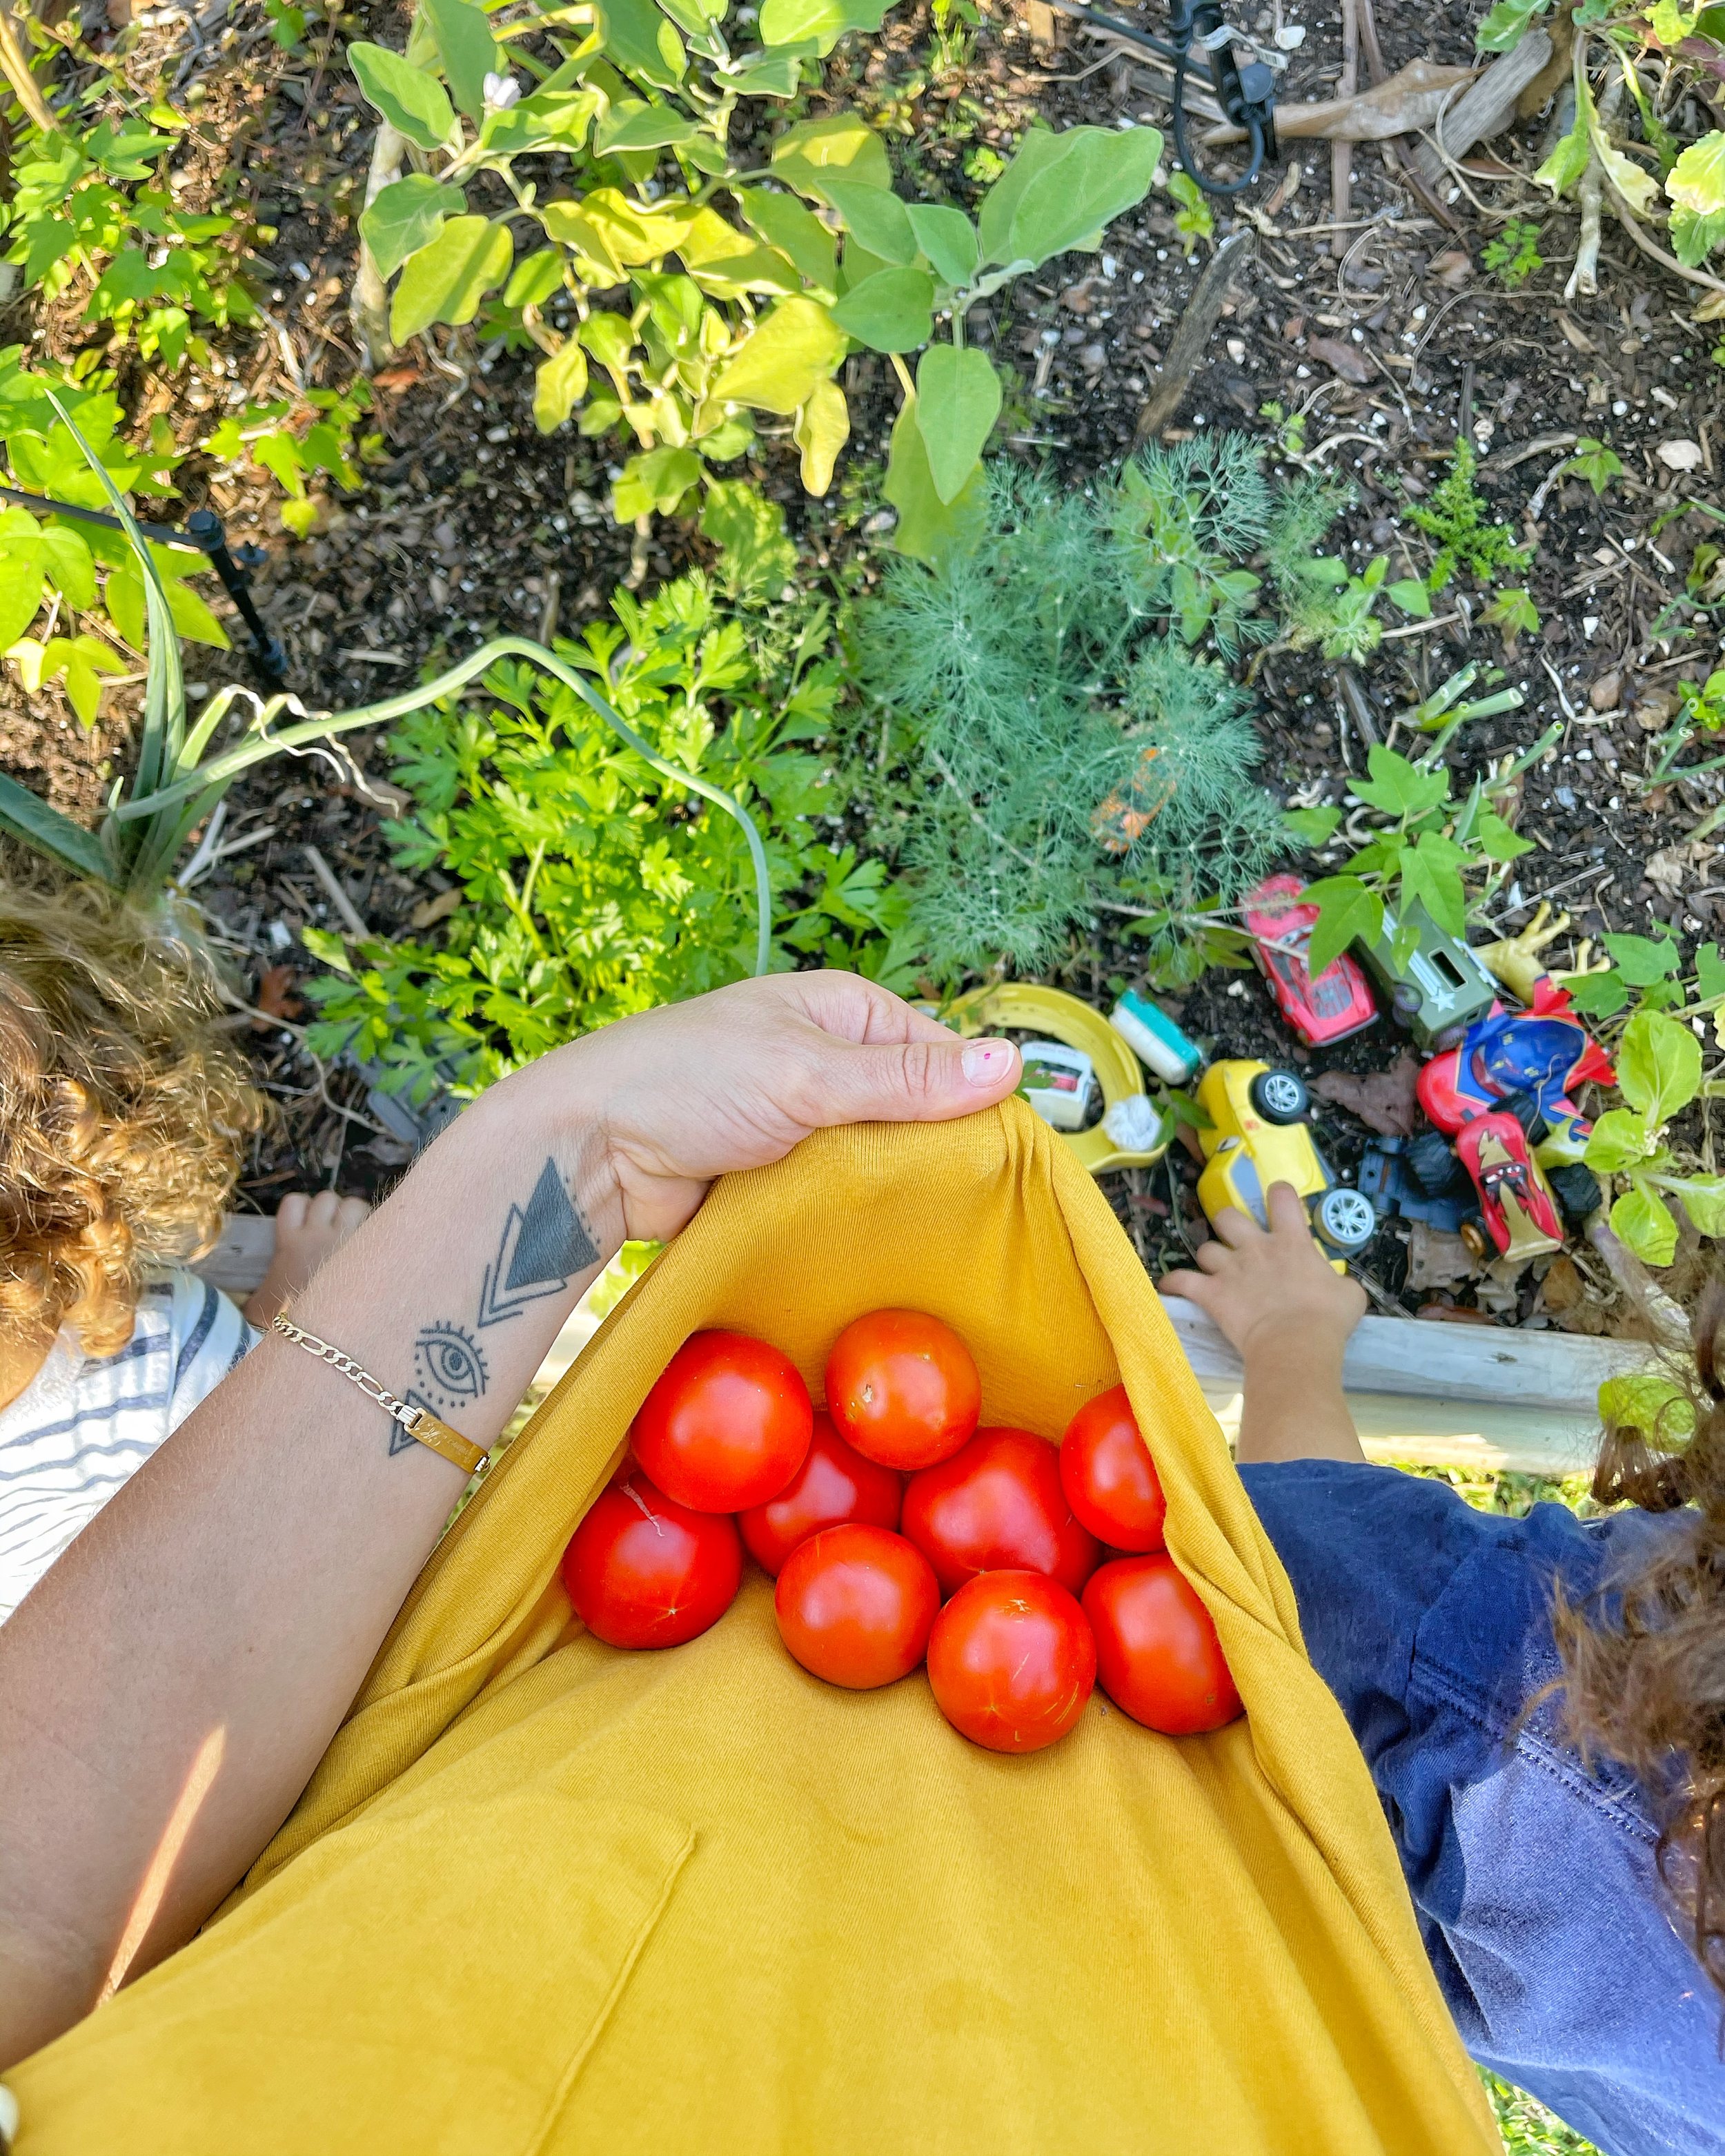
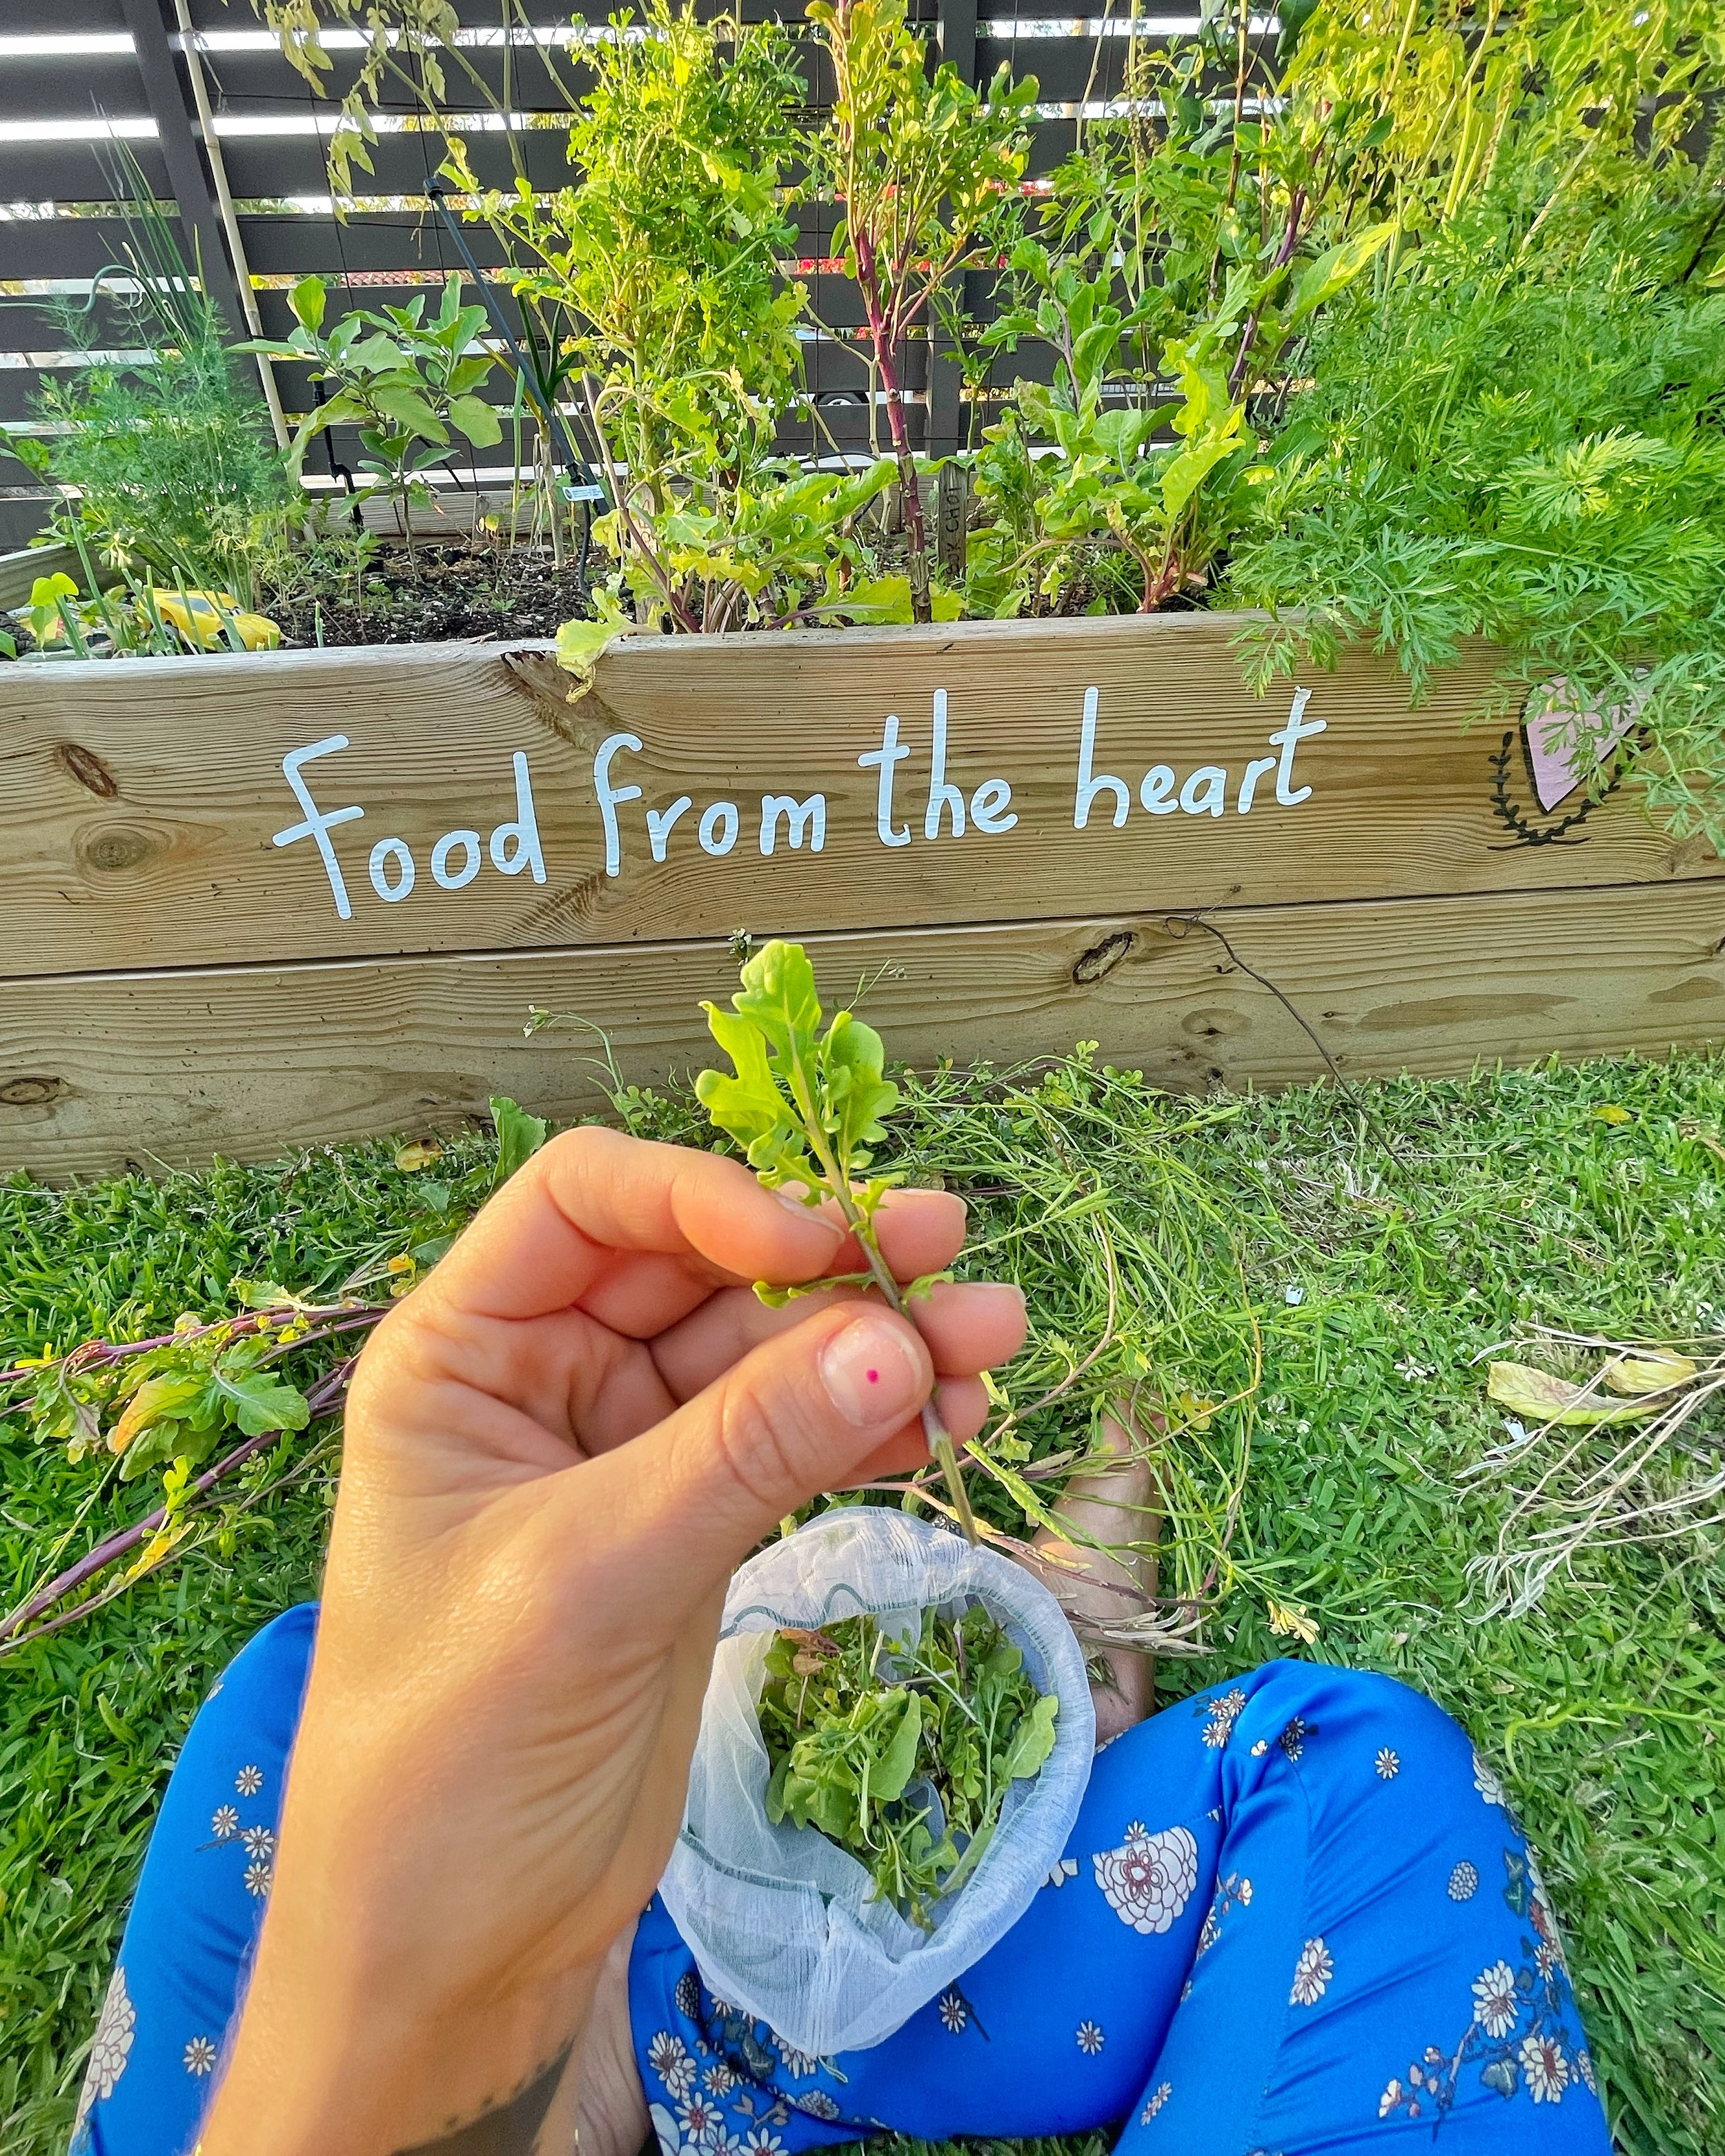
De aquí en adelante queda esperar, cuidar, observar. Tener una huerta es como con los hijos o mascotas, toca cuidarla y está alerta a enfermedades y cambios. Mantente observando tus plantas para cuando sea tiempo de cosechar! Plantas como las hierbas puedes empezar a cosechar apenas tengan buen tamaño, cortando hojas, ramas, sin cortar toda la planta. Otras como los tomates y pimentones donde cosechas el fruto o por ejemplo lechugas o plantas como kale, puedes empezar a cosechar las hojas más pegadas al piso, las más hacia los lados son las hojas más maduras! En otras ocasiones como las zanahoria que se saca entera de la tierra o el bochchoy que se cosecha toda la plata cortandola desde abajo.
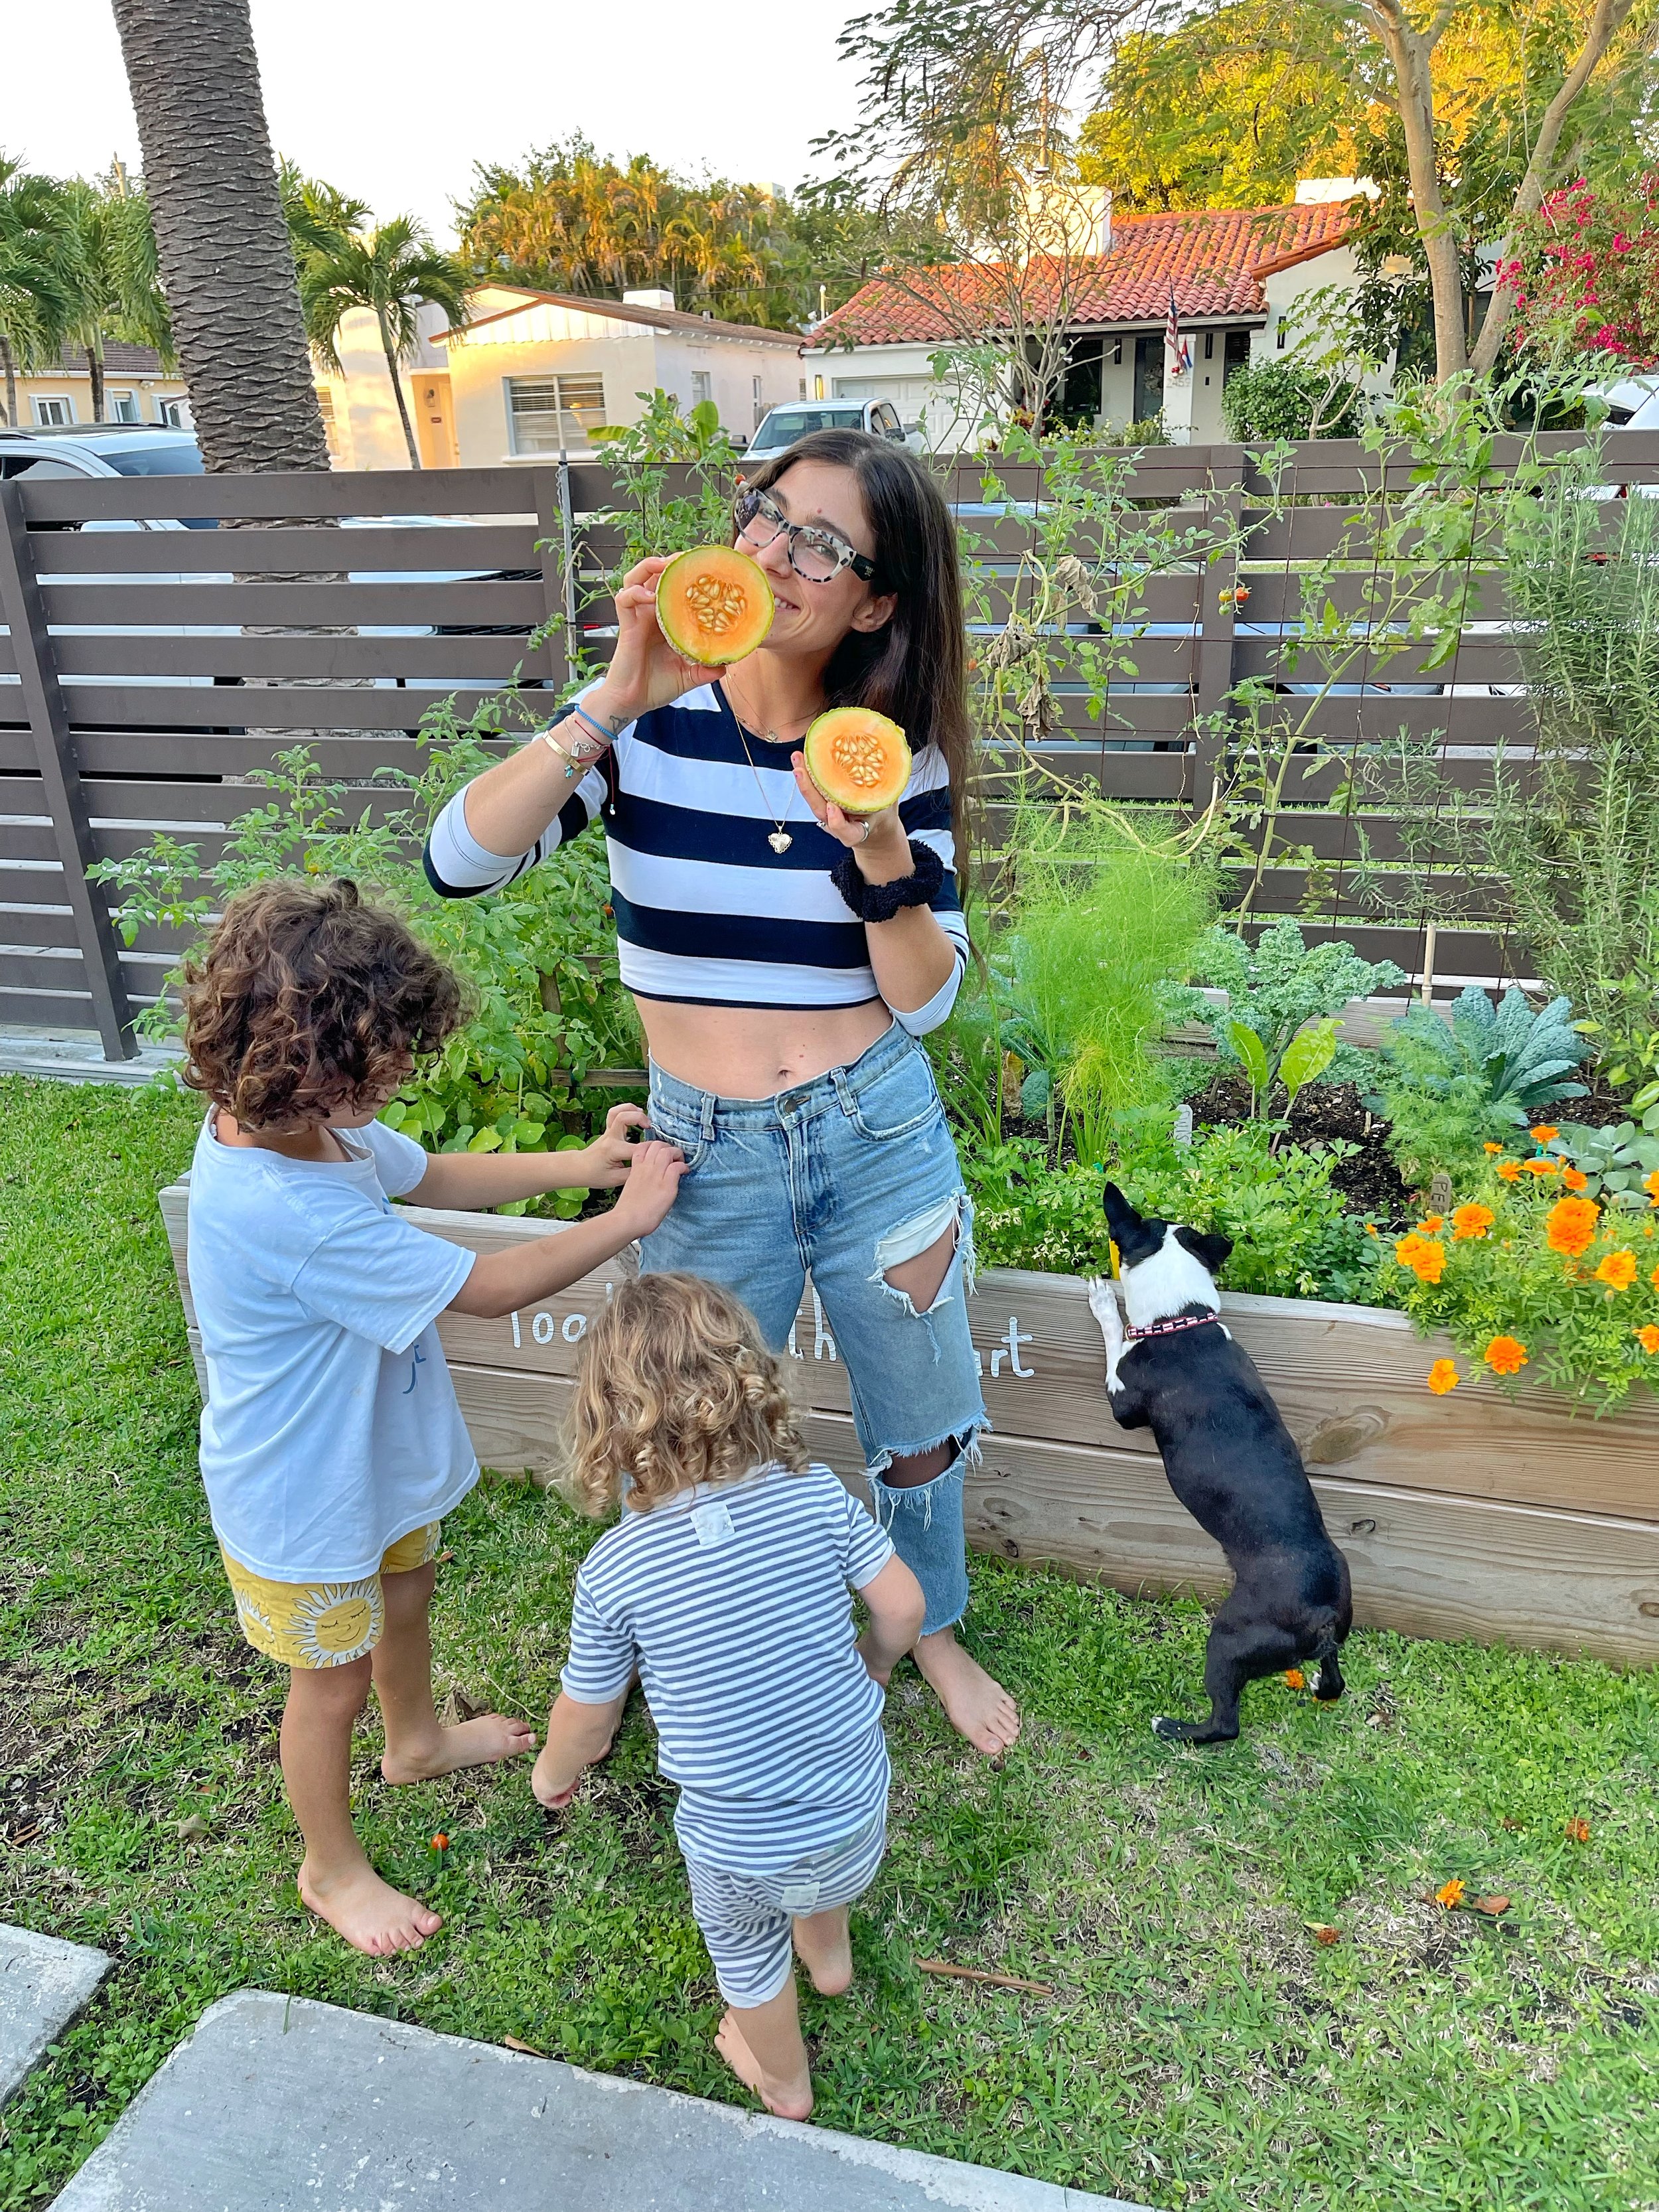
Lo increíble de tener una huerta es poder cosechar lo que quieras comer! Poner unos toques de cebolla larga por aquí, saltear con ramas de romero y salvia. De ahí las opciones son infinitas.
¡Les seguire compartiendo lo aprendido! Tengo pendiente el video paso a paso de la composta y el blogspot para complementar. Con la composta es cuando vivimos en carne propia la magia del ciclo circular que empieza con el trabajo de crecer la planta (siento yo que cuando creces tu propia comida en una huerta, de verdad se empieza a valorar los alimentos y empezamos a desperdiciar menos alimentos), luego cocinar esto que creciste,, luego compostar lo que se puede. Estos alimentos vuelven a ser tierra en la composta que luego se usa de nuevo para la huerta. Asi se cierra el ciclo. Magia pura!!!
Recuerda que tengo varios videos e información en instagram con en #huerticafromtheheart y por si no viste el mini videito de nosotros plantando la huerta esta temporada aquí.
—————————————————————-———————————————————————————————-
First let’s just clarify once again that we are no experts in the topic. We are mostly very enthusiastic as we continue to learn new things every day by having our own garden. It was only three years ago when we decided to get professional help (little river cooperative) on constructing a high raised bed for our garden. Since then we’ve learned so much from them! This year we decided to give it a go by ourselves, just like the old times!
I constantly get asked to share tips on how to start a garden, but because I still consider myself an apprentice I have not done it properly and extensively before. Still I decided to show the process of replanting our garden this season and share what we've learnt from our non-expert experience.
I organized the process in these steps:
Gardening is a cyclical process. You have to first consider where you live because this will guide you on what plants to have and when to start your garden. For example, if you live in a place with seasons, the gardening season normally starts in autumn. In Miami- south florida, from september on. On the other hand, in places without seasons like Cali-Colombia, where my mom lives, weather is pretty much stable all year long (considering rain season). So this will also be a different scenario. We always start our garden from October to January as we live in Miami.
Look for a place where you have sunlight most of the day. This is the MOST important thing to have in mind.
Define if you are using a raised bed (like the one we have) or pots / containers. People underestimate pots, but you can still achieve beautiful results. BUT remember, you need sun. Even if you live in an apartment you can use a balcony or window where there is sunlight.
After you have clear what is better for you to grow depending on your weather, you need to decide between seeds or starter plants (small plants).
Plants that are always easy to start with are herbs like rosemary, thyme, mint, others like tomato, lettuce, arugula, kale.
We’ve done it in both ways! Seeds and starter plants. For example, our papayas and jackfruit trees come from seeds! But I really consider it easier to go for starter plants! There is no shame in this, especially if you go for local plants from local nurseries (like little river cooperative). You won't only be able to harvest sooner, but these plants are also adapted to local weather conditions. If you go for seeds read instructions on how much space and depth you need to have in mind when planting. Also remember to label each zone!
After this you need to think about soil! Which one to use? We used a layer of garden soil with OMRI granular fertilizer. If you can get this from a local nursery too. If you buy from a big store try to get the cleanest. We mixed a layer of soil and compost in between (I need to work on the compost video too!) To calculate how much soil do you need for your space check this website to calculate. https://www.gardeners.com/how-to/soil-calculator/7558.html
Finally plants! But, how do we start planting? Even if you are using a bed or container, use the square foot method. With a stick we marked the soil dividing it in squares to calculate the space where each planet could go.
For example, plants that will need the whole square will be rosemary, parsely, tomato, oregano, peppers, kale, celery, cabbage, cauliflower. On the other hand, in the same square you could have 4 plants of lettuce, edible flowers, and chard. That is the concept. In the same note, you could plant approximately 12 radishes and carrots plants in the same square foot area.
Now what? You have to water every day. Check the soil’s moisture by inserting your finger. We were advised by “little river cooperative” to use a natural fertilizer mixed in water every month. This is the one we use.
From now on you just wait, watch and care for your garden. Having a garden is like having kids or pets, you need to keep an eye on changes, disease and spend time caring about it. Keep watching your plants until it's time to harvest. Plants like herbs are ready to harvest when the plant has reached a considerable size. You can start cutting leaves and stalks as you need in the kitchen without chopping off the whole plant. In other cases you harvest the fruit when ripe, for example tomatoes, peppers. Greens like kale and lettuce you can harvest outside leaves, the ones closer to the soil are the most mature. In other cases you will need to cut or remove the whole plant like with carrots or bochchoy.
It is incredible to have a garden no matter the size and be able to harvest herbs here and there when needed in the kitchen. Options are endless! Also I consider that when you grow your food, you will appreciate and value more produce which will translate into less food wasted! YAY!
I will continue to share my learnings! I still owe you a detailed video on how to strat the compost. With composting is when you have a clear view of the circular cycle. It starts with a seed or plant in the garden, you then cook with it, leftovers are composted and it goes back to the soil, that is then used as a fertilizer to grow new food. So magical!
Remember I have lots of videos, posts, recipes in my hashtag #huerticafromtheheart and if you missed the garden video you can watch it here!
Hope these tips help! Leave me your comments and questions in my instagram video post!
xoxooxox

Las huerta de mi mamá hecha en materos - My moms garden using planters / containers

Nuestra primera cosecha de bok choy fue lo que primero cosechamos de la cama nueva - Bok choy was our first harvest from the bed.